
Color grading is a key skill for anyone interested in video editing. It helps set the mood, highlight important details, and make footage visually stunning. Mastering color grading can transform average videos into captivating pieces that engage the audience right from the start.
Understanding color theory and having the right tools is essential for achieving great results. Popular software like DaVinci Resolve and Adobe Premiere Pro offer powerful features that can enhance any video project. As filmmakers learn and experiment with different techniques, they will discover how color grading can elevate their storytelling.
By honing color grading skills, editors can create unique styles that resonate with viewers. The journey to mastering this craft includes practice, creativity, and staying updated with current trends. With dedication, anyone can achieve professional-looking videos that leave a lasting impression.
Understanding Color Theory
Color theory is essential in video editing as it helps artists create visually appealing works. By grasping the relationships between colors, editors can achieve their desired mood and effect in their projects. This section gives a closer look at primary and secondary colors, the color wheel, and how colors influence emotions.
Primary and Secondary Colors
Primary colors are the foundation of all other colors. They include red, blue, and yellow. Secondary colors are made by mixing primary colors. For instance, combining red and blue creates purple, blue and yellow make green, and red and yellow produce orange.
These colors form the basis of many color schemes. Understanding these basics allows video editors to create harmony or contrast in their work. This knowledge can enhance storytelling, making visuals more engaging for the audience.
Color Wheel Basics
The color wheel is a tool that visually represents color relationships. It is divided into 12 sections: three primary colors, three secondary colors, and six tertiary colors. Each color on the wheel has its own place and relationship to others.
Colors opposite each other are called complementary colors and produce strong visual contrasts, while analogous colors sit next to each other on the wheel and create a more harmonious look. Using the color wheel helps editors select color combinations that enhance their video’s aesthetic.
Emotions and Color Psychology
Colors can evoke different emotions and moods. For example, blue often represents calmness, while red can convey excitement or urgency. Understanding color psychology helps editors choose colors that align with the feelings they want to evoke in their audience.
Consider using warm colors for inviting scenes and cool colors for serene moments. Editors can manipulate colors to guide audience responses effectively. This is crucial for storytelling, as the right color choices can enhance the viewer’s emotional connection to the content.
Essentials of Video Editing
Understanding the essentials of video editing is crucial for any aspiring editor. Two key components that stand out are the importance of color in storytelling and the differences between color correction and color grading. Each of these aspects plays a vital role in creating a polished final product.
Importance of Color in Storytelling
Color is more than just a visual element in video editing; it serves as a powerful storytelling tool. Different colors evoke specific emotions and can influence the viewer’s perception of a scene. For example, warm tones like reds and oranges can create feelings of warmth or urgency, while cool tones such as blues and greens can convey calmness or sadness.
Using color strategically helps to enhance the narrative. It can highlight key moments or themes within the story. Filmmakers often choose a specific color palette to maintain consistency and reinforce their message throughout the video. Effective color choices can make scenes more memorable and engaging for the audience.
Color Correction vs. Color Grading
Color correction and color grading are two critical processes in video editing that serve different purposes. Color correction is the first step, where the editor adjusts the footage to ensure that colors appear natural and consistent. This involves fixing issues such as exposure and balance, allowing for a more accurate representation of the scene.
Color grading, on the other hand, is where the artistic aspect comes into play. Here, the editor enhances the visual style to create a specific mood or tone. This can involve altering the hues, saturation, and contrast to achieve a desired effect. While color correction ensures accuracy, color grading allows for creative expression, helping to tell the story in a visually striking way.
Getting Started with Color Grading
Color grading is an essential part of video editing that enhances the mood and feel of a project. Setting up the right workspace and choosing the right software are crucial for achieving great results.
Workspace Setup
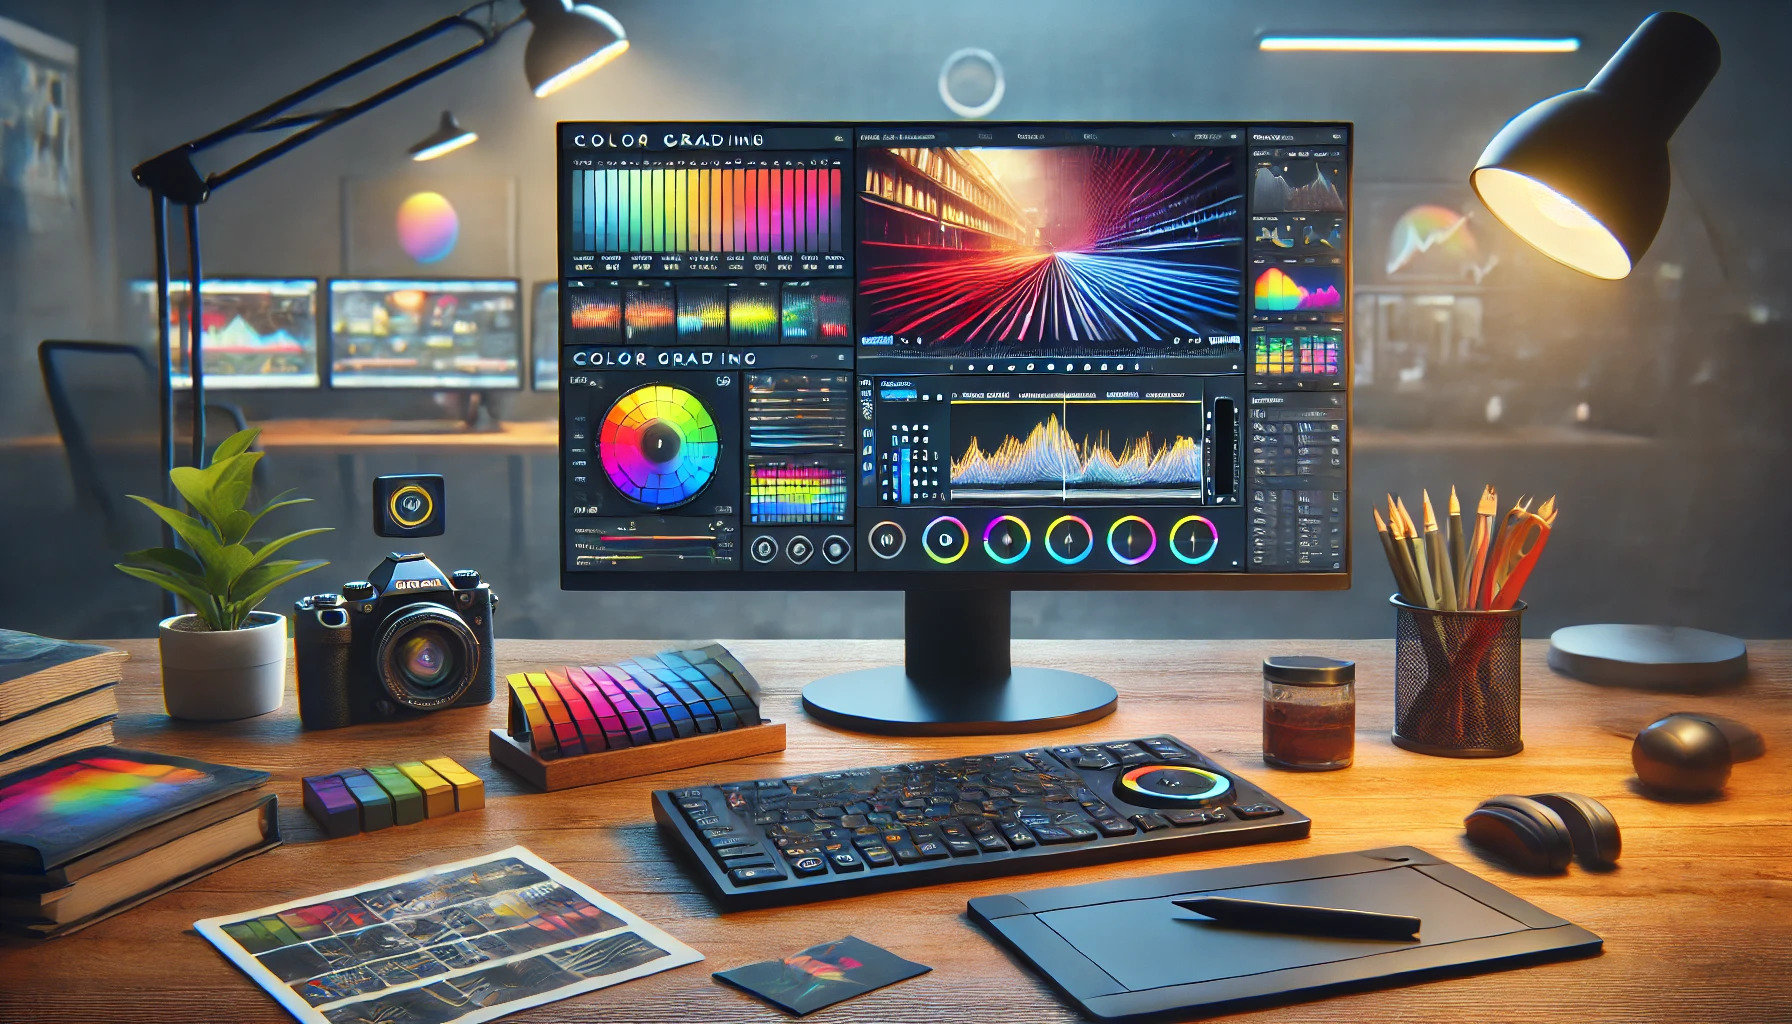
Creating a comfortable and efficient workspace is important for color grading. A well-lit environment with minimal glare on the screen helps in making accurate color decisions. The workspace should also have a calibrated monitor.
A calibrated monitor ensures that colors appear true to life. This device should have accurate color reproduction and a high resolution. Alongside the monitor, using a powerful computer is essential, as color grading software can be resource-intensive.
Organizing tools and files can also improve workflow. Keeping clips and assets labeled and sorted into folders allows for easy access. This setup leads to a more efficient editing process.
Software Choices
Choosing the right software can make a big difference in color grading projects. Many video editing programs come with built-in color grading options. However, specialized software often provides more advanced tools.
DaVinci Resolve is one of the most popular choices among professionals. It offers advanced features like color wheels, scopes, and the ability to work with HDR footage. Another good option is Adobe Premiere Pro, which has a user-friendly interface and robust color tools.
Before selecting software, it’s important to consider personal needs. Some programs may be better for beginners, while others cater to more advanced users. Exploring different options helps determine the best fit for individual projects.
Color Grading Techniques
Color grading enhances video quality and mood. By using specific techniques, editors can achieve consistency, continuity, and creativity. Here are some important methods to consider.
Using LUTs for Consistency
LUTs, or Look-Up Tables, are valuable tools in color grading. They allow editors to apply a specific color style quickly and consistently across multiple clips.
Using a LUT can streamline workflows, especially for large projects. For instance, the film industry often employs LUTs to maintain a specific look throughout a movie.
To use LUTs effectively, it’s crucial to choose ones that match the desired emotional impact of the video. Many video editing programs, like DaVinci Resolve, come with built-in LUTs. Editors can also create custom LUTs for a unique touch.
Scene Matching for Continuity
Scene matching ensures a seamless transition between different shots. This technique is essential for maintaining visual coherence in a video.
When matching scenes, editors should focus on matching color, brightness, and contrast levels. One effective method is to use scopes, which provide visual data on the color and luminance of clips.
It helps to make adjustments in small increments. Inconsistent shots can distract viewers, making scene matching a critical aspect of the editing process. By paying close attention to these details, an editor can create a polished final product.
Creative Grading with Curves
Curves are a powerful feature in color grading software. They offer precise control over color adjustments and exposure levels.
By using the curves tool, editors can manipulate shadows, midtones, and highlights. This allows for creative color shifts and unique visual effects.
Editors can create an S-curve to increase contrast or use a flat curve for a softer look. Experimenting with curves can lead to stunning results that capture the viewer’s attention.
The flexibility offered by curves encourages creativity while still allowing for precision in color grading.
Working with Log and Raw Footage
When dealing with video editing, understanding how to work with log and raw footage is essential. These formats provide more flexibility in color grading and can elevate the final look of a project.
Understanding Log Formats
Log formats capture a wider range of colors and details in shadows and highlights. This is crucial for editors wanting to apply dramatic color grades. Log footage typically appears flat and desaturated right out of the camera.
This flat look may seem unappealing initially, but it contains more information for adjustments. Editors can bring colors back to life during grading by manipulating the footage’s contrast and saturation. Knowing how log formats work allows for better control and creative expression in the final edit.
Advantages of Grading Raw Video
Grading raw video offers significant advantages over standard compressed formats. It retains more information, allowing for better manipulation during the editing process.
Raw footage typically provides higher bit depth and better color sampling. This means smooth transitions between shades and improved detail in both highlights and shadows. Editors can also make more significant adjustments without introducing artifacts or noise.
Using raw footage makes it possible to achieve a polished, cinematic look that captivates viewers. This flexibility makes raw video an ideal choice for professional projects.
Advanced Color Grading Tools
Advanced color grading tools provide video editors with powerful features to enhance their projects. These tools allow for detailed adjustments that can transform footage and convey specific moods or emotions.
Secondary Color Correction
Secondary color correction allows editors to target specific colors in a shot. This technique is useful for enhancing or altering elements without affecting the entire image.
Editors can use software like DaVinci Resolve or Adobe Premiere Pro for this purpose. In DaVinci Resolve, users can create masks or select color ranges to refine their adjustments. Adobe’s Lumetri Color panel offers similar capabilities with tools like HSL Secondary.
For instance, increasing the saturation of a sky while keeping skin tones natural is a simple yet effective way to improve a scene’s visual appeal. This method enhances storytelling by drawing attention to important visual elements.
Isolating Colors for Enhancement
Isolating colors allows editors to enhance specific aspects of the footage. This technique is particularly effective in creating dramatic contrasts or highlighting details.
Using tools such as Curves or Hue/Saturation adjustments, editors can adjust the intensity of individual colors. For example, increasing the vibrancy of a subject’s clothing can make them stand out in a crowded scene.
Color wheels in color grading software enable fine-tuning of midtones, highlights, and shadows. This granularity helps in achieving a polished look. Use these tools thoughtfully to maintain a natural balance.
Skin Tone Correction Techniques
Skin tone correction is crucial for ensuring natural-looking faces in video editing. Accurate skin tones can significantly affect the overall perception of a project.
Editors often rely on specific tools in software like DaVinci Resolve. They can use the Vector Scope to monitor skin tone ranges and make precise adjustments.
Techniques such as tint and temperature adjustments allow for personalized looks based on lighting conditions. It’s essential to ensure that skin tones look consistent across different lighting setups. This attention to detail can greatly enhance the professionalism of the video.
Practical Exercises for Mastery
Hands-on practice is essential for mastering color grading. By engaging in practical exercises, editors can enhance their skills and gain confidence in their creative choices.
Grading a Short Scene
Choosing or filming a short scene is an effective way to practice color grading. Start with a clip that has varied lighting and colors. This will provide a rich canvas for applying different grading techniques.
First, determine the mood you want to convey. Should the scene feel warm and inviting, or cool and somber?
Basic Steps:
- Initial Corrections: Adjust exposure and contrast to ensure the scene is well-balanced.
- Add Color: Use tools like curves or color wheels to introduce the desired tones.
- Final Touches: Fine-tune the colors to enhance the scene’s impact, paying attention to skin tones and shadows.
This exercise allows for experimentation. Trying different approaches can reveal unique styles and help identify personal preferences.
Color Grading Challenges
Color grading challenges can sharpen skills and push creativity. These exercises often involve specific tasks or restrictions that require focused practice.
One popular challenge is to replicate a specific film’s look. Participants can analyze color palettes and grading techniques to achieve a similar aesthetic. It encourages attention to detail and enhances color theory knowledge.
Another effective challenge is to grade clips with “bad” lighting. This could involve fixing overexposed or underexposed footage.
Tips for Challenges:
- Set a timer to create a sense of urgency.
- Share results with peers for constructive feedback.